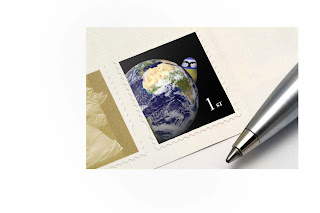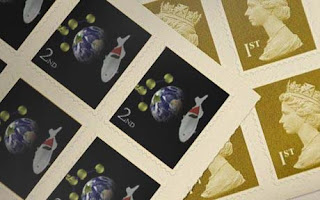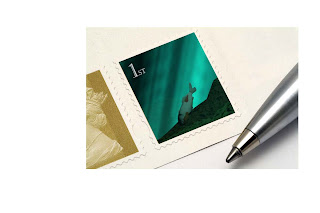


This is the image taken from my first stamp, I am happy with it as it is more difficult that I imagined to make a 3D image represent a 2D drawing.his is a image taken from the first stamp I made, it is the original design I had a drew at the beginning of the project. 
Here is the image taken from my second stamp after placing the koi fish in the background I made, I also had to add an Omni light to bring the fish out more.
 I started this scene by creating a square and converting it into and editable poly, where I used the vertex selection and having the soft selection switched on with a high falloff. Using this tool i pulled up and pushed down on the square, changing the falloff to slightly smaller to vary the outcome.
 Secondly I created another lager square for the trench, which I used the editable poly modifying tool. I used the vertex selection tool and viewing it from the side, I selected the ones I wanted and pulled them down creating the profile. Then using the soft selection tool I again minipulated the shape for the desired effect.
 Creating large squares in the background to render as my background. I didnt make one large enough so I copied one by selecting it and dragging it ina certain direction wilst holding down the Shift key.
 The blue grids I made from creating a flat square and deleting some of the section iside them, to do this I used the editable poly modifier tool and selcting the polygon tool. I then copied this grid many times and twisting each one and making them overlap and be in diferent directions. This creates a texture for the light to pass through the holes in these grids. This will create the broken sunlight effect that you see from underwater as the light passes through an unflat water surface.
 This is a distant view of the effect that the grids have, braking up the light. I used a directional spotlight, which I added a volume light in the atmosphere and effects modifier. I selected the a light blue/green for a tint to the light to create a water atmosphere. I also put shadows on which allows the breaking up of the light.


I used these 2D drawings that i sketch to help me model my fish. I created three planes in the middle of my modeling area, one on each plane. I used the images as a material to render each of the different views on the different plans.
It should look something like this as you start to render the plains.

Next i started with a box which I placed in the middle of the plains ruffly where I will need it. I then press f4, which enables you to see the lines which divide the box up, I increased these by selecting the box and heading to the modifier section and increasing the segments.

Starting from the front of the fish, I modeled along its length creating that profile first. I then moved to the left a modeled down its side and I started to see the fish take shape and actually look like a carp.
I made the fins by creating new rectangles and through editable poly I minipulated them by moving the vertex points into the right shape. As the fins are thin at then end, and the majority of the theire lenght it tooka while to get its acurate, as the vertex points are so close together and in all 3 directions.
I modeled the fish and all its fins, tail and eyes. Then I made a texture in Photoshop, I got some images of koi and chose a pattern I liked then replicated that using brushes. I then imported that into 3D max, using the bitmap tool, this didnt come out to well as the flat texture is bent and stretched over the round shape.
To overcome the stretching of the texture, I edited the UVW maps which is the surface area of the object flatened out into indiviual peices. I have to knit the pieces together to create a smooth texture when it is layed over the maps. This takes some time, but the diference is realy worth it.
Here is the render using UVW maps to control the texture how i want it to look, its now ready to place into my enviroments that I will create next.
 I have finally modeled the carp to a point where I am happy with it. My next stage will be its rendering. I have been doing some bits on Photoshop, creating a scaled affect along with the typically Koi bright coloured patches.

Here is my progress so far for the modeling. I have started with the more basic components and leaving the more complex parts for when my knowledge gets better. I started with the molecule which I am yet to render, and will also probably modify it some more before the final stage of assembly. Also I have created the background to my stamp designs, with the earth, rendered in a very resembling way with appropriate lighting acting as the sun. I am happy with how this came out, and adjusting the maps of the earth texture I created an 3d look to it although it is a 2d texture wrap.